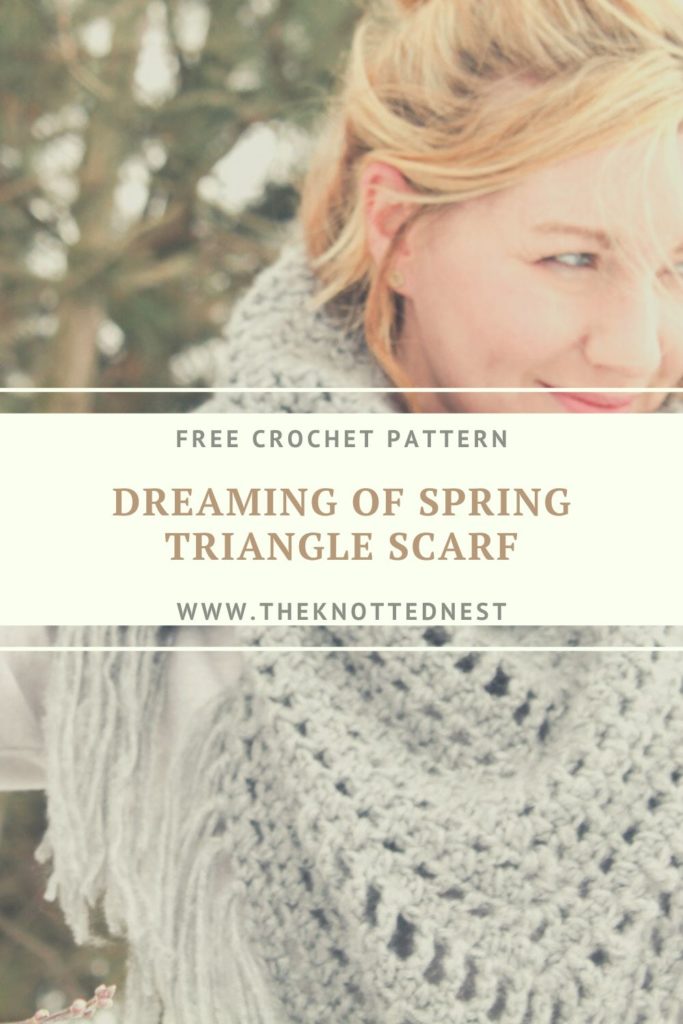
Dreaming of Spring Triangle Scarf
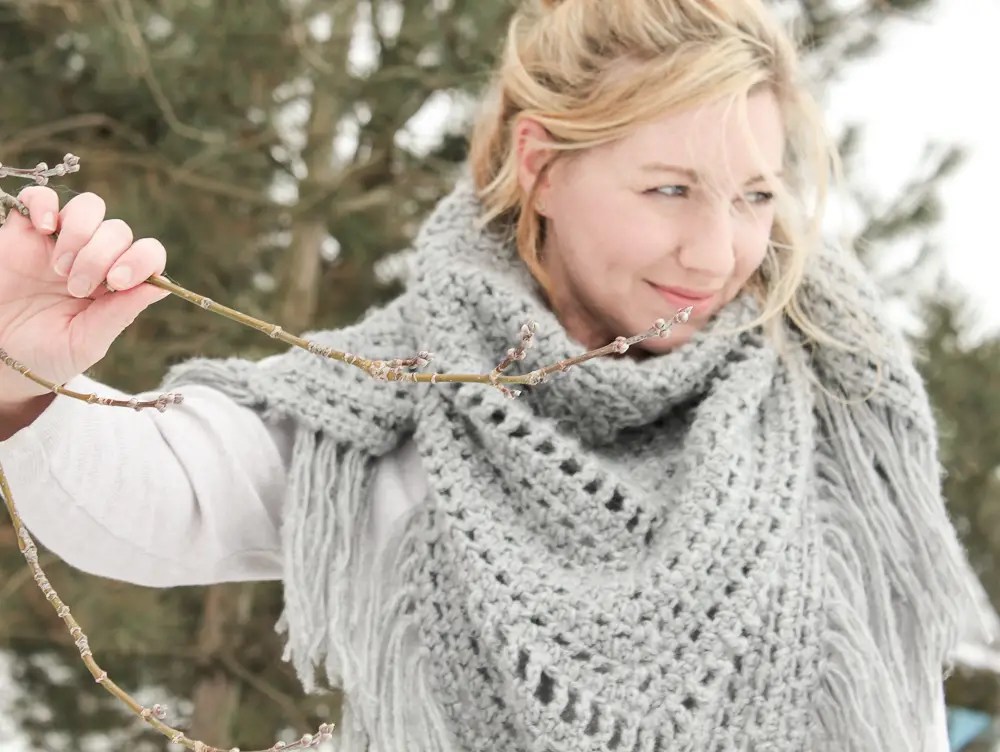
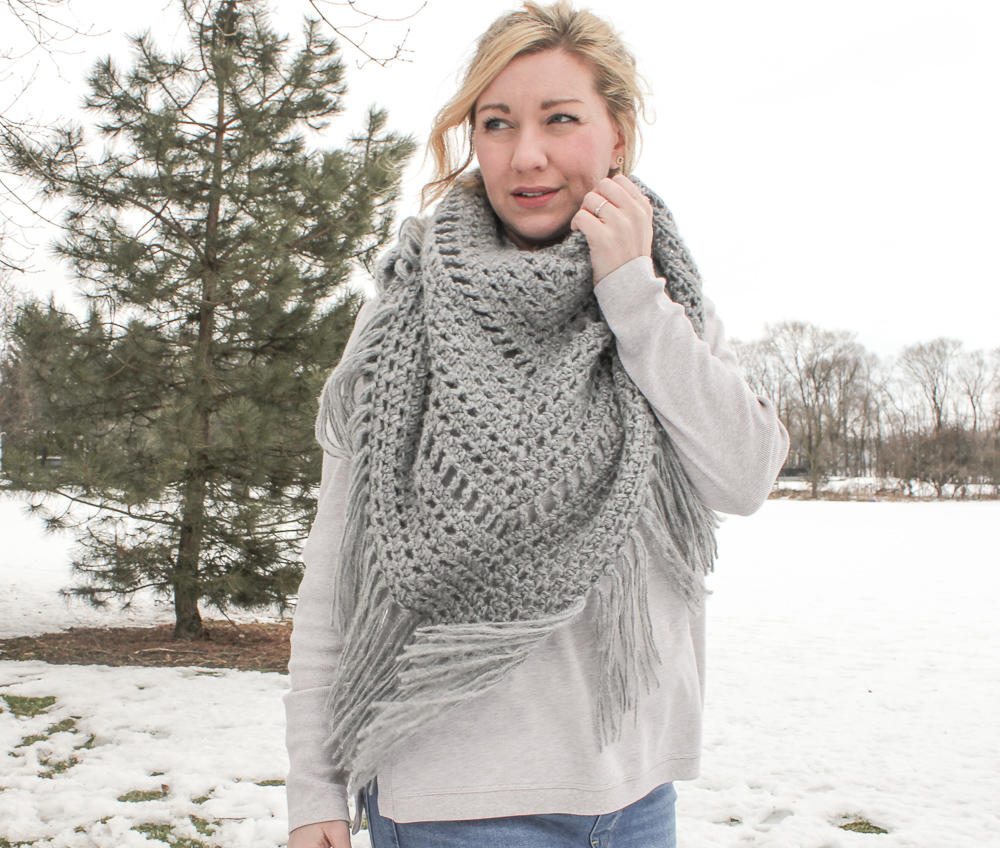
Stay warm and cozy with this easy crochet triangle scarf! This pattern uses Red Heart Dreamy yarn and lots of fringe to give a cool boho vibe!
2026 UPDATE: Unfortunately, Red Heart Dreamy yarn has been discontinued. Some suitable yarn substitutions for this pattern are: Caron Colorama Halo, Red Heart Hygge, or Lion Brand Homespun. See the Materials section of the pattern for more info.

I may be dreaming of warmer days and spring-y crochet projects, buuuut it’s still very much winter here in upstate New York. Since it’s only 29 degrees here today and we are supposed to get 4 more inches of snow this weekend, I thought I would share one last winter weather project.
I call this the Dreaming of Spring Crochet Triangle Scarf for obvious reasons! But maybe not so obvious is that this scarf uses the super soft and fuzzy Dreamy yarn from Red Heart (My kids thought the play on words was a little too “corny mom joke,” but I think it’s clever so I’m sticking with it!)
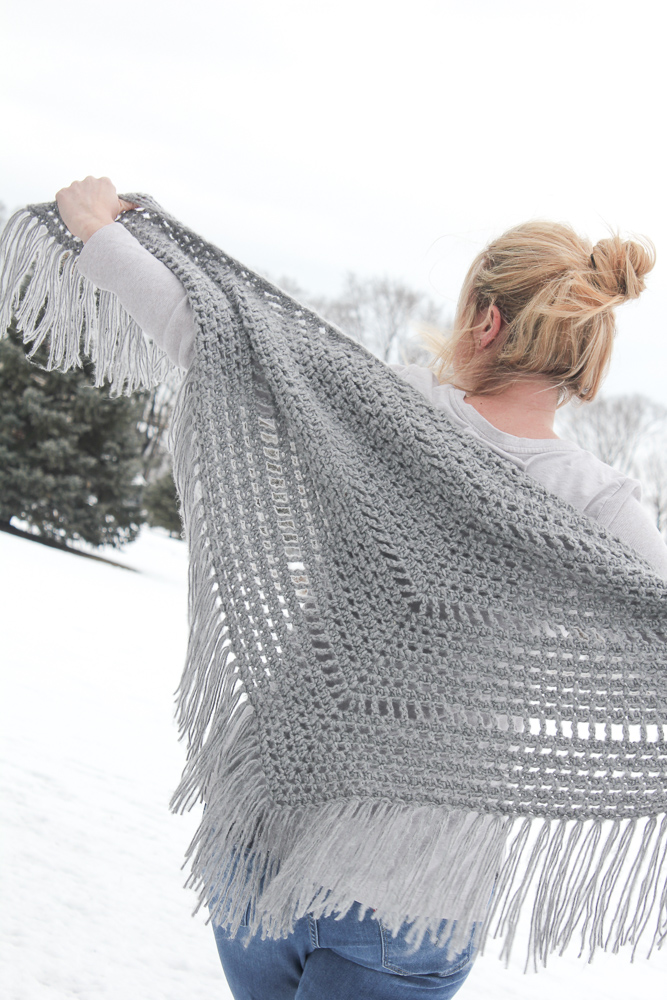
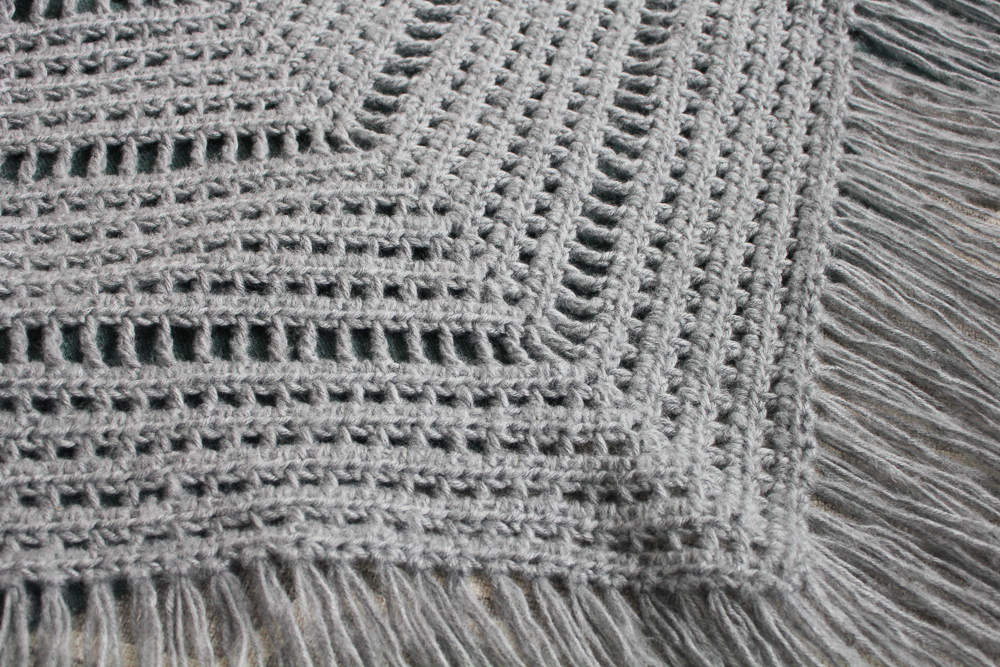
This pattern is basically just a simple two row repeat that is fairly quick and mindless once you get going. The main stitch is half double crochet with just a few rows of triple crochet thrown in for contrast. The open and airy stitch pattern works well with the slightly bulky Dreamy yarn.
Tips for Beginners
I remember finding triangle scarves a bit intimidating when I was a beginner to crochet. If this your first go at it, my best tips are: count your stitches after each row (at least until you get going), make sure each long “side” of the triangle has the same number of stitches after each row, and keep your turning chains loose.
Also, note that every row will start with 3 stitches in the first stitch (turning chain + 2 stitches) and end with 3 stitches in the last stitch.
The finishing touch on this beauty is lots of flowy fringe. This is optional of course, but I think it gives the scarf more of a boho vibe, which I love!
Find the free pattern below! You can also find an ad-free, printable version of this pattern on Etsy and Ravelry!
Anyone else squeezing in a few late winter projects or are you thinking spring? Either way, happy making! 🙂

Dreaming of Spring Crochet Triangle Scarf Pattern
SKILL LEVEL
Easy (Level 2)
MATERIALS
- 450-500 yards of Bulky weight (size 5) yarn. I used one 8.8oz (466 yard) ball of Red Heart Dreamy Yarn in Grey. NOTE: RH Dreamy Has been discontinued as of 2025. Some substitutions are Caron Colorama Halo, Red Heart Hygge, or Lion Brand Homespun. To get a similar look, I recommend choosing a yarn with a slightly brushed or halo-ed look.
- Size K hook (6.5mm)
- Scissors, Tapestry needle
DIMENSIONS
54” x 24”
GAUGE
12 sts x 8 rows in HDC = 4” square
NOTES
- This crochet triangle scarf is made beginning at the center and worked in turned rows to expand the size. Pay close attention to the increases at the beginning and end of each row. This is often where stitch counts get off.
- It’s helpful to check stitch counts at the end of each row until you get the hang of the pattern. Each long side of the triangle should have the same number of stitches.
- The Ch 2 at the beginning of each row should be worked loosely and DOES count as a stitch.
- When using Dreamy yarn, it’s best to pull from the outside of the ball rather than the center.
- Abbreviations
- Ch = chain
- hdc = half double crochet
- sk = skip
- sl st =slip stitch
- st = stitch
- tr =triple crochet [Yarn over twice and insert hook into stitch. YO and pull through stitch (4 loops on hook). YO and pull through 2 loops (3 loops remain on hook), YO and pull through 2 loops (2 loops remain on hook), YO and draw through 2 loops. Triple crochet complete!]
PATTERN
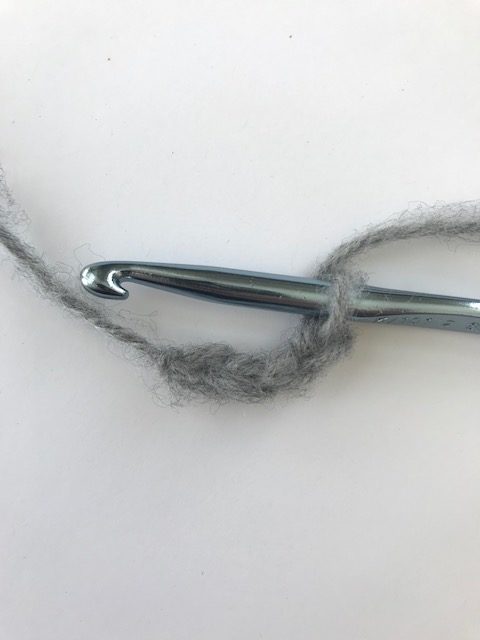
Chain 4. Sl st into first chain to form a ring.
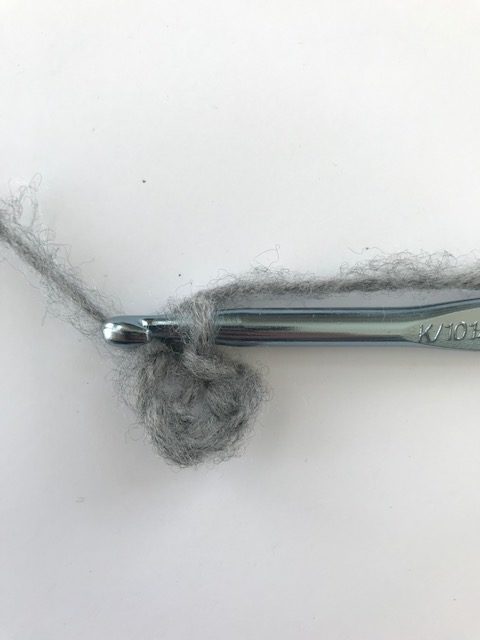
Row 1: (Working in the ring just made). Ch 2, 2 hdc, ch 2, 3 hdc. <6>

Row 2: Ch 2, turn. 2 hdc in first st. 1 hdc, 1 hdc (hdc, Ch 2, hdc) into Ch 2 space. 1 hdc, 1 hdc, 3 hdc in last st. <12>
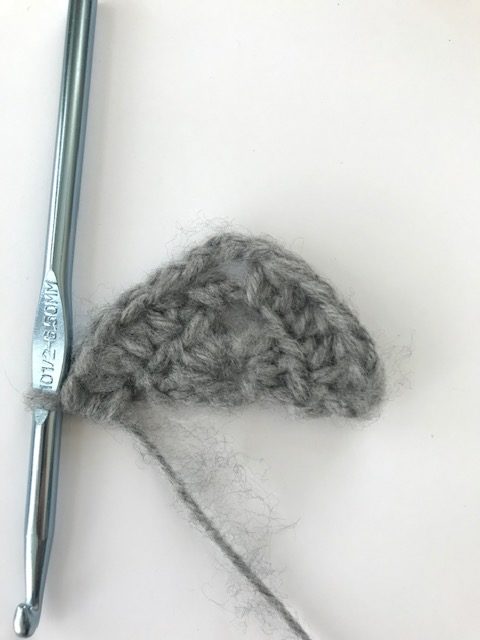
Row 3: Ch 2, turn. 2 hdc in first st. Ch 1, sk 1, 1 hdc, Ch 1, sk 1, 1 hdc, Ch 1, sk 1, (hdc, Ch 2, hdc) into Ch 2 space. Ch 1, sk 1, 1 hdc, Ch 1, sk 1, 1hdc, Ch 1, sk 1, 3 hdc in last st. <18>
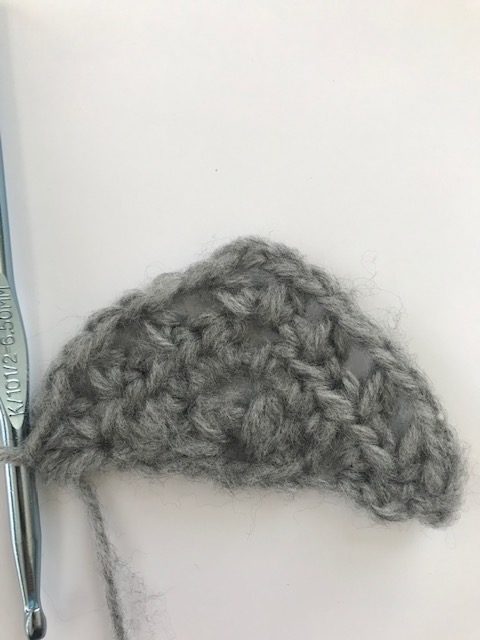
Row 4: Ch 2, turn. 2 hdc in first st. hdc in each st to Ch 2 space (including Ch 1 spaces), (hdc, Ch 2, hdc) in Ch 2 space, hdc in each st to last. 3 hdc in last st. <24>

Row 5: Ch 2, turn. 2 hdc in first st. Ch 1, sk 1, *hdc, Ch 1, sk 1, repeat from * to Ch 2 space (end with Ch 1, sk 1), (hdc, Ch 2, hdc) in Ch 2 space. Ch 1, sk 1, *hdc, Ch 1, sk 1, repeat from * to last st (end with Ch 1, sk 1). 3 hdc in last st. <30>
Row 6: Repeat Row 4. <36>
Row 7: Repeat Row 5. <42>
Row 8: Repeat Row 4. <48>
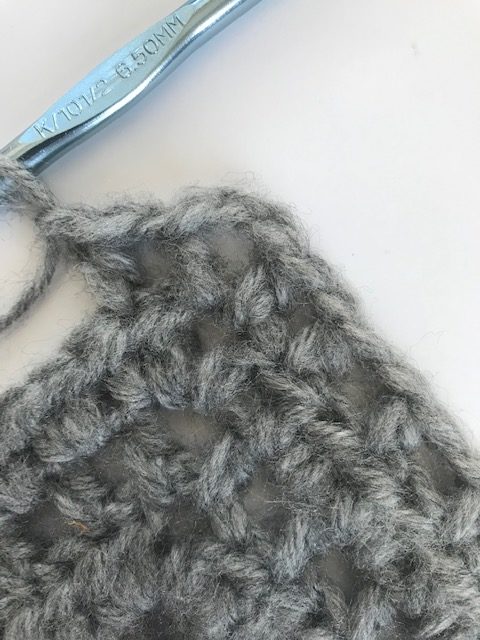
Row 9: Ch 4, turn. 2 tr in first st. Ch 1, sk 1, *tr, Ch 1, sk 1, repeat from * to Ch 2 space (end with Ch 1, sk 1), (tr, Ch 2, tr) in Ch 2 space. Ch 1, sk 1, *tr, Ch 1, sk 1, repeat from * to last st (end with Ch 1, sk 1). 3 tr in last st. <54>
Rows 10-18: Repeat Rows 4 and 5. (Row 18 will be a repeat of Row 4).
Row 19: Repeat Row 9.
Rows 20 – 28: Repeat Rows 4 and 5. (Row 28 will be a repeat of Row 4).
Row 29: Repeat Row 9.
Rows 30-38: Repeat Rows 4 and 5. (Row 38 will be a repeat of Row 4). Fasten off and weave in ends.
FRINGE
- Cut 14” lengths of yarn (You’ll need 226 pieces to
add fringe every other stich as I did).
Tip: Use a book, piece of thick cardboard, or other sturdy object that is about 14” long to speed up the cutting process! Just wrap your yarn snugly around and around the book until you get a fairly thick chuck of yarn (but not so thick that you can’t cut through it!).
Lay the book on a flat surface and press firmly on the yarn to keep it from sliding while you cut through the loops of yarn on the top and bottom of the book. You should end up with two stacks of evenly cut yarn! You may need to repeat this process a few times, but it is much faster than cutting each piece one-by-one!

- Holding two strands together, fold them in half.
- Starting with the first stitch on one corner,
insert your hook and grab the loop made by folding your two strands in half. - Pull loop through the stitch, stopping about
halfway down the folded over yarn. - Now reach through the loop, grab the yarn tails
(with hand or hook) and pull them through the loop. Pull tails to tighten. - Continue making fringe in every other stitch down
one side of the triangle. Place one fringe in the Ch 2 space, and continue
doing every other stitch down the second side of the triangle. Trim any uneven
fringe and you’re done!
I hope you loved this pattern! Don’t forget to tag me on Instagram (@theknottednest) to show off your finished product – I can’t wait to see! Find more project inspo in the Patterns section here on the blog.


